Subscribe To This Site
|
Chocolate_Sponge Recipe for BeginnersNew at baking? Did you manage to break your sponge? Don't panic!!! Help is at hand. Read on...
Having a good Chocolate_Sponge base for your cake is essential. I think there is no shame in using a box mixture if with that you guarantee the success of the cake, specially to boost your confidence during those first attempts ! 
Therefore, if you are a beginner, I think that cheating with a box cake for the base is not only allowed but recommended!

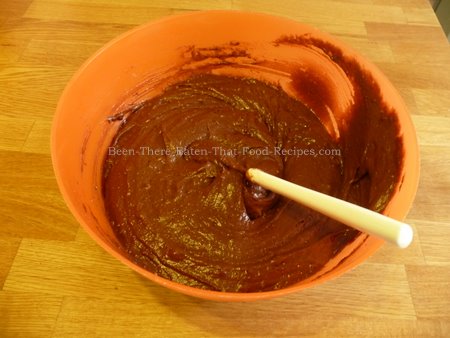
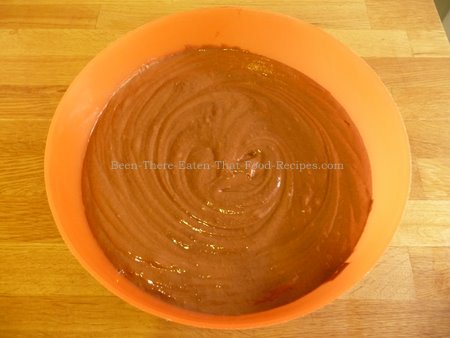
If you are going to use a box cake, I would suggest the Betty Crocker's "Devil's Food Cake Mix" for a delicious Chocolate_Sponge. It is chocolate flavoured, and a favourite with all ages! It results in moist and rich cakes that are at the same time light and fluffy, a very difficult combination to get, believe me! Following the pack instructions for this Chocolate_Sponge is easy; just take care in making sure the mixture is homogeneous, without lumps in it (sift the powder before beginning with the instructions). At the starting point, the mixture will have a dark chocolate colour...
but when the mixture become homogeneous will have a lighter chocolate tone...
Bake the Chocolate_Sponge as instructed, remove from mould and leave to cool down on a rack (facing down).
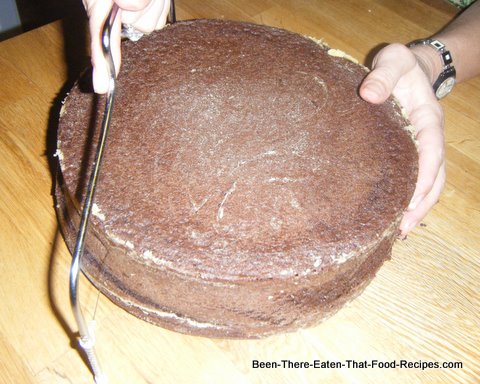
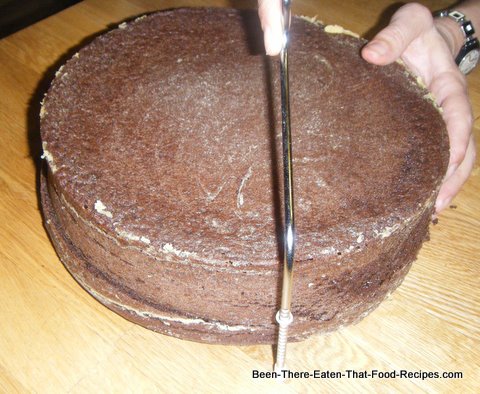
Having ensure a good start with a nice and high Chocolate_Sponge, now you can concentrate on the fillings and the decoration. There are no many things in life better than a rich and moisture chocolate cake! To obtain that, after the Chocolate_Sponge is ready and cold, cut along 2 or 3 layers depending on the height of the sponge. The important point when cutting layers of cake is making sure that layers are distributed evenly along the height of the sponge. If you want two layers with a filling in between, make sure that you make the cut right at the half of the height of the cake. If want three layers with two fillings in between, divide the height by three and make the cuts accordingly. To cut the layers, you could use a sewing thread, unflavoured dental floss, a wire, a fishing line, a sharp serrated knife or one those Cake Levelers with Adjustable Wire.
The big advantage of the Cake Levelers is that you can adjust the wire into the notches to obtaing layers of the desired height.
If you don't have a Cake Leveler (yet!), you must make sure to measure the height of the layers properly to obtain evenly distributed layers of sponge. If using a thread or a floss, place toothpicks around the edge of the cake at the desired (and measured) height, make few little cuts with a sharp serrated knife along the row of toothpicks (and at the corners if the sponge has corners), align the thread/floss with the little cuts and row of toothpicks, and starting from the further edge of the sponge pull the thread/floss towards you with a gentle sawing motion. This movement will cut the sponge into two layers. If using a sharp serrated knife, still use the toothpicks as explained above to mark the desired height, and then cut. Ideally, your knife should have a blade long enough to reach the other side of the sponge. If this is the case, just make sure you align the blade with the row of toothpicks and you should obtain a leveled cut If your blade is not long enough, cut around the edges aligning the blade between two toothpicks, and carry on like that until going all the way round. Then it shouldn't be difficult to cut the central part mantaining the level.
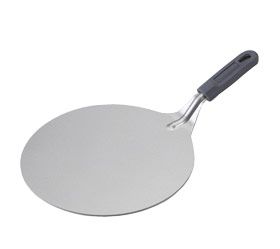
Once your layers are all cut, we have to separate them to add some moisture and the fillings. Slide a thin flat surface without borders (cardboard, baking sheet, cake lifter) between two layers and lift the top layer. Repeat with the remaining layers if more than 2 layers are used. Moist cakes are delicious and everybody appreciates them. You decide how moist you want your Chocolate_Sponge. I love them very moist but I have to say that if you are planning to shape your cake in any particular way, the drier the better. If that is not your case, then you add as much moisture as you wish! My way of doing this is using again the same mould I used for baking the cake, just cover it inside with cling film and then we can add the moist cake inside it. In that way, it will keep the shape of the mould and will absorbe all the moisture.
Square Cake Lifter
First, place the layer you want to be on top of your cake at the bottom of the mould (covered with cling film), facing down. Add chosen moisture (see Syrup) in the wished amount. Add the chosen filling. Place on top the second layer, facing down. Add moisture and filling. Continue like that until completing the cake, making sure to add moisture to the last layer too (the one that now is on top).
Take it to the fridge, and keep it for 1-2-3-4 days for the flavours to blend together and to absorbe all the moisture. For decorating, invert the cake on a board or tray. Now the layer that was at the bottom of the mould is at the top again. Proceed with decoration.
Tip: How to fix a broken /cracked / unshapely sponge? Using the same mould to re-shape a sponge is the ideal way to sort all of these problems and nobody will imagine that you had any issue with your cake! It will look perfect! Just follow the instructions give above using the mould covered inside with cling film, add the layers (including the broken ones) and re-shape them inside the mould. Add enough moisture to make the sponge ver wet and easier to accomodate. Carry on in that way until your layer looks perfect. Continue with the rest of the cake. After hours in the fridge, your cake will be perfectly shaped again!!
Are you a chocoladdict? Don't miss the Chocolate Lava Cake Recipe!!
- Return from Chocolate_Sponge to Cakes |


Inspired by Mich Turner's creation for Sir Paul McCartney
and Heather Mills wedding cake as featured in Spectacular Cakes

Baby Boy Christening Cake

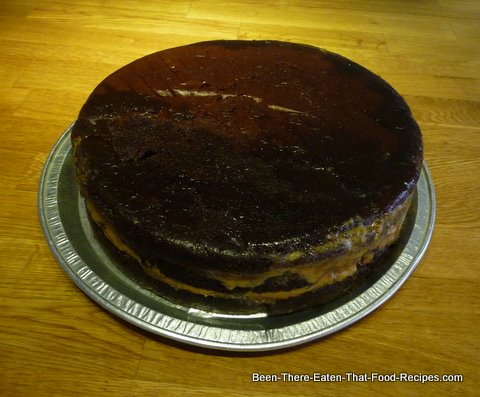
Orange and Dark Chocolate Cake
- Full recipe explained here -
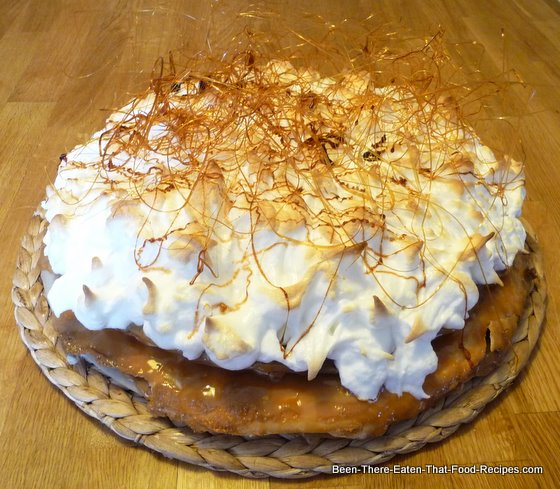
Alfajor Rogel recipe.
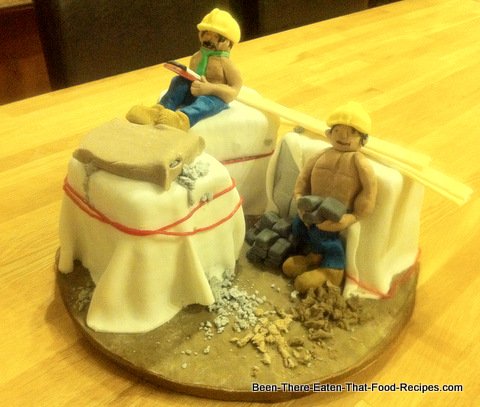
Inspired by Sexy Builders as featured in Debbie Brown's Naughty Cakes
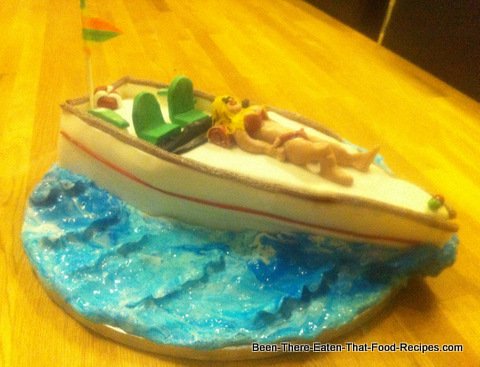
Inspired by Racy Speedboat as featured in Debbie Brown's Naughty Cakes
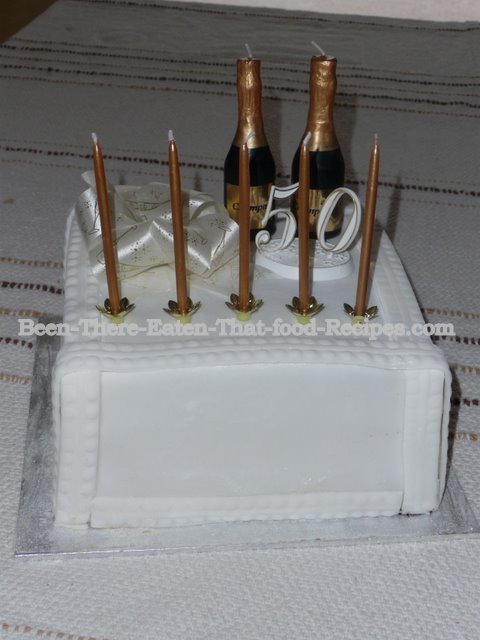
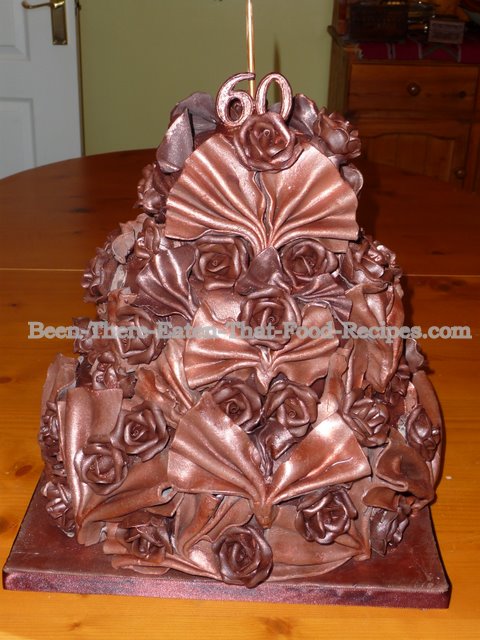
50th Birthday Cake
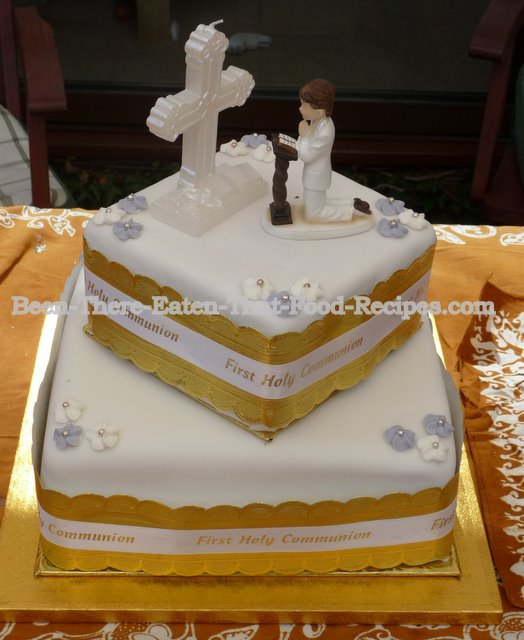
First Communion Cake
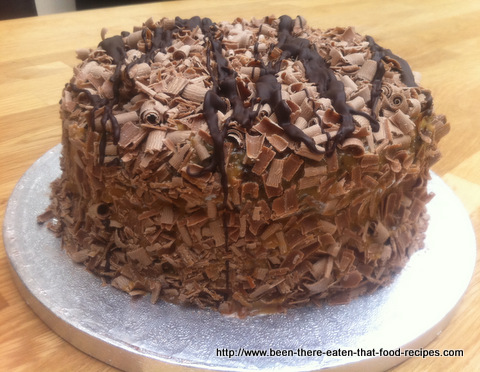
Chocolate and Sweets Cake
BBQ desserts